【色調補正】レンズフィルターとは
「レンズフィルター」とは、カメラレンズに取り付けるカラーフィルターのことを言います。フィルム時代は撮影した後に修正することは困難で、撮影する際に色の付いたレンズフィルターを装着して色味の調整をおこなっていました。
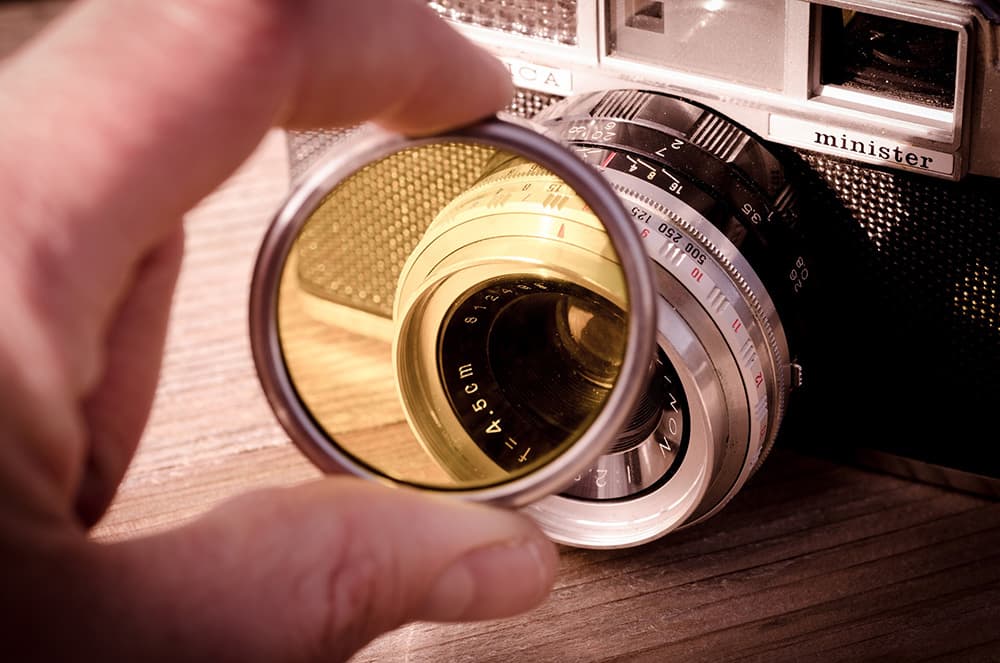
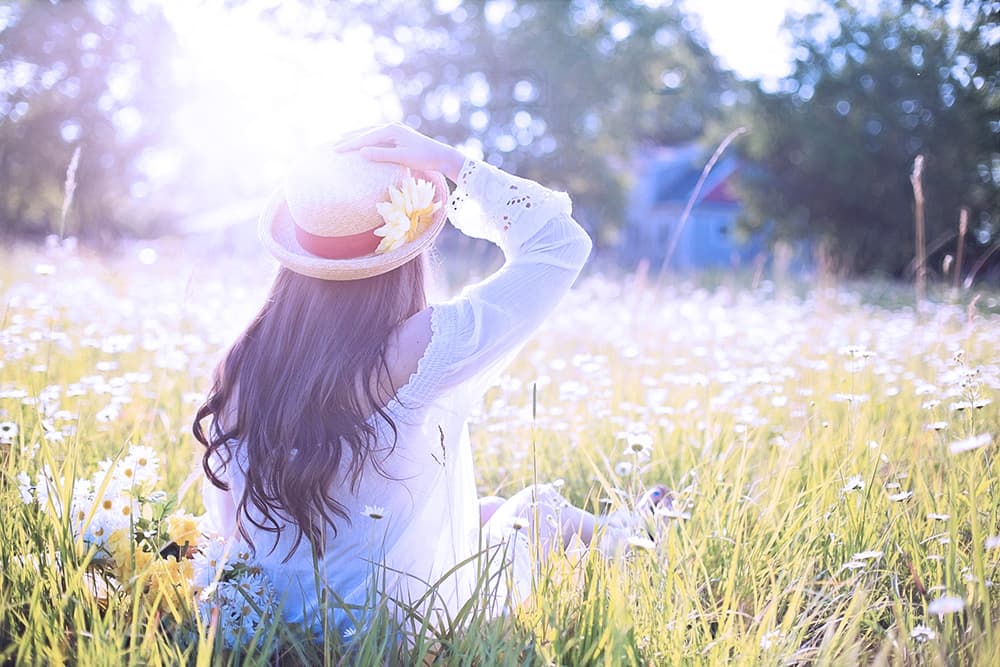
色調補正の[レンズフィルター]は、カメラレンズにカラーフィルターを付けて撮影する手法を表現する機能です。主に夕焼けや朝焼け、青空など特定の色を強調したいときに使用されます。

レンズフィルターの特徴を知る
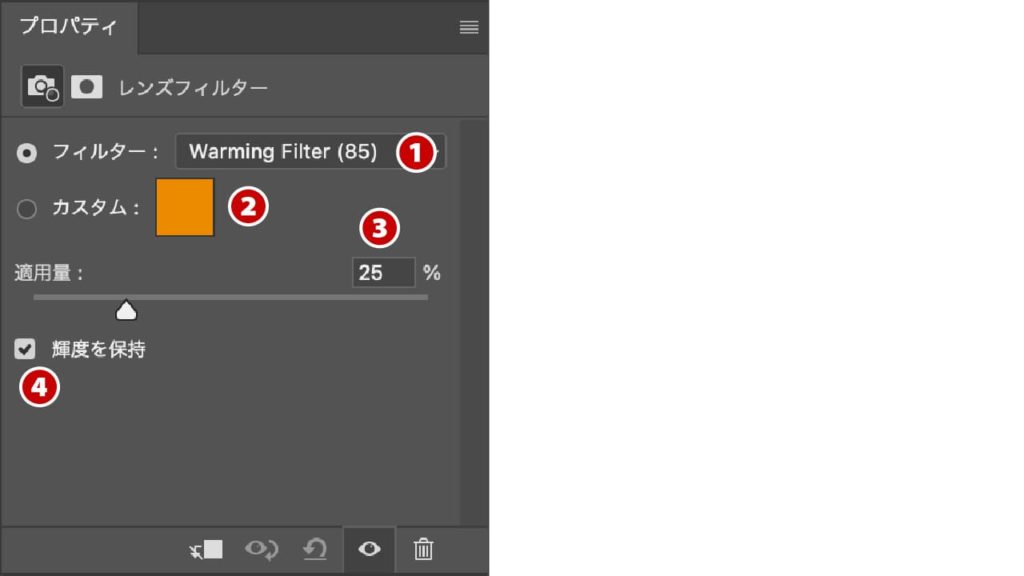
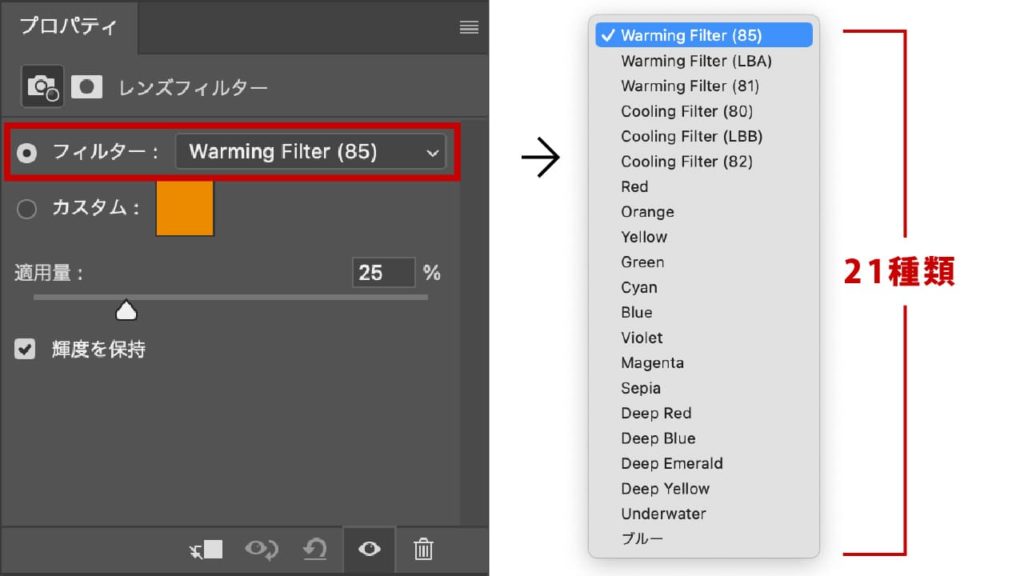
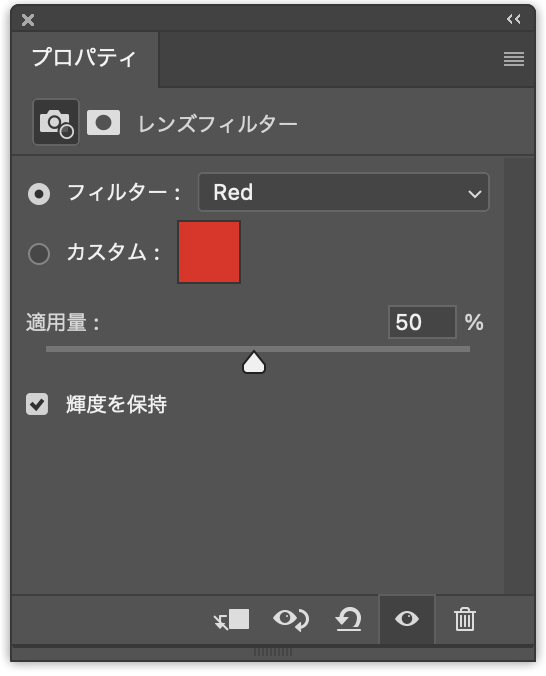
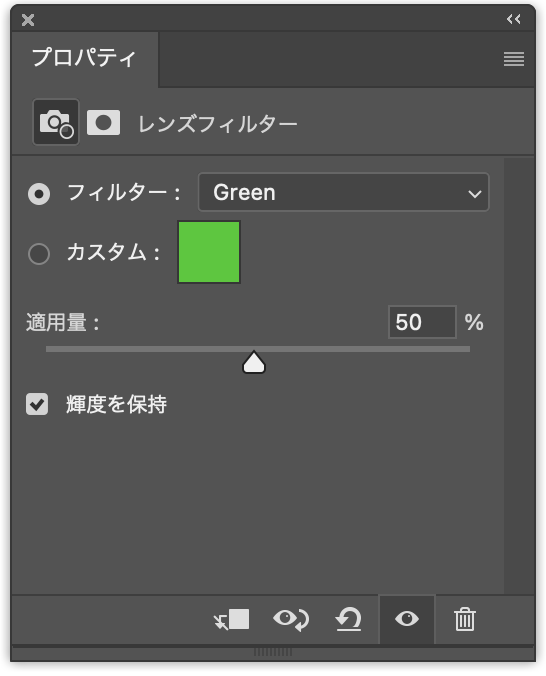
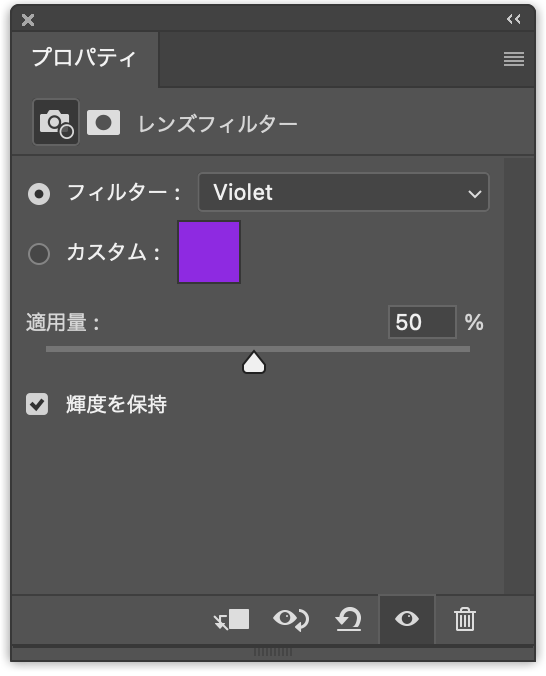
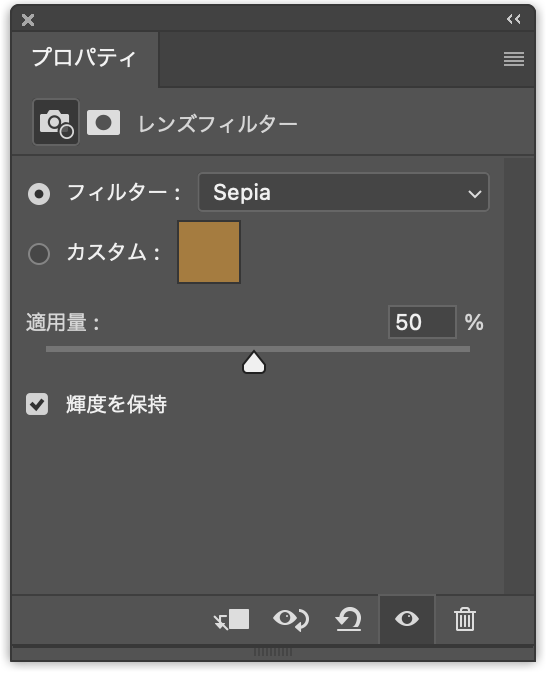
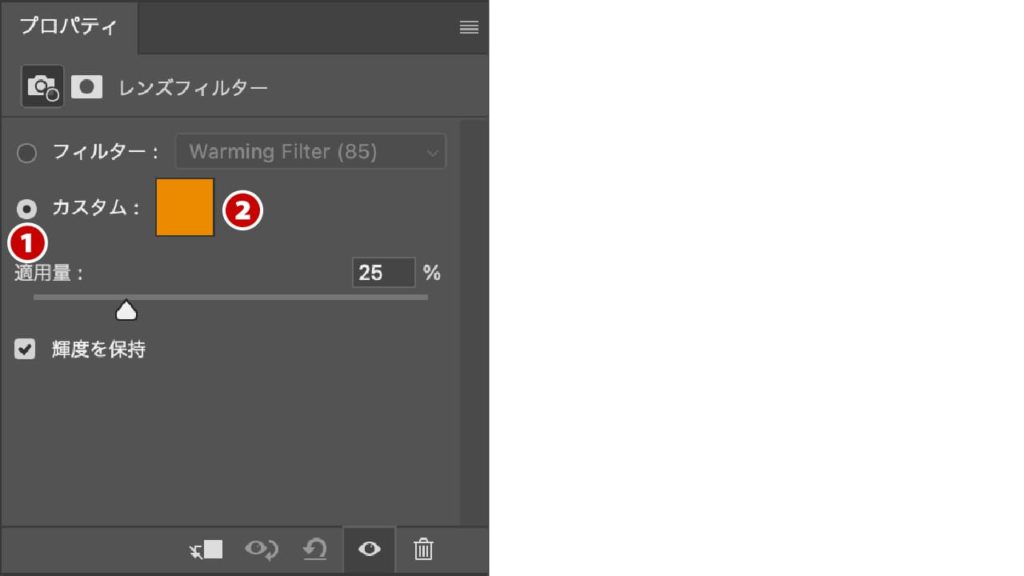
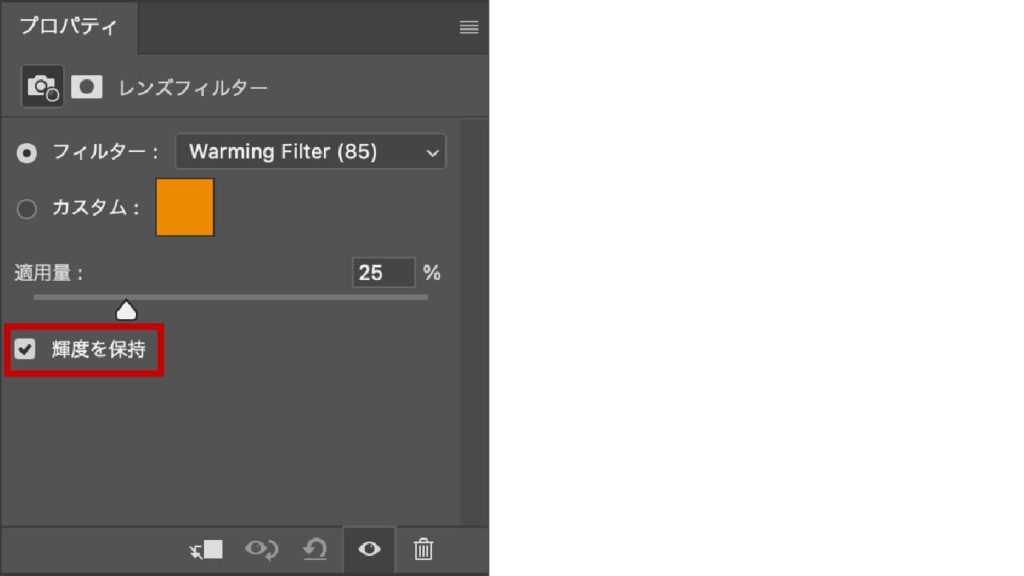
レンズフィルターは多彩なフィルターが準備されています。[フィルター]をクリックすると21種類の中から適用することができます❶。[カスタム]を選択すると好きな色を適用することができ❷、[適用量]をコントロールすることにより、適用レベルを調整することができます❸。[輝度を保持]は基本チェックをつけておきましょう❹。
❶ 多彩なフィルター
準備されている21種類のフィルターから選択することができます。
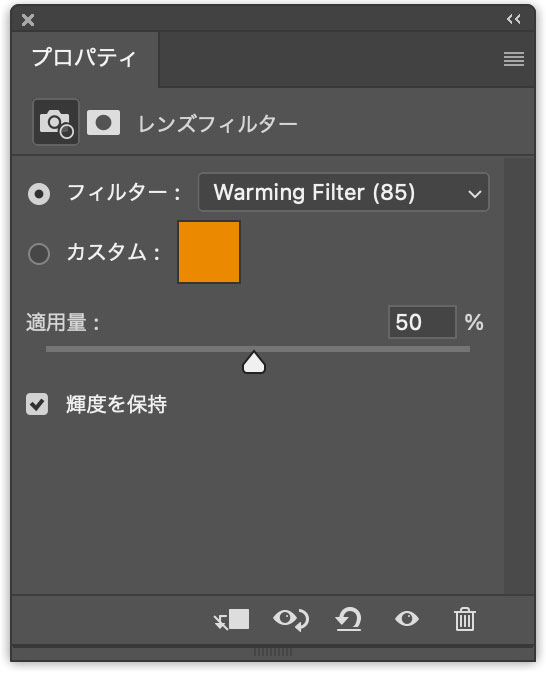
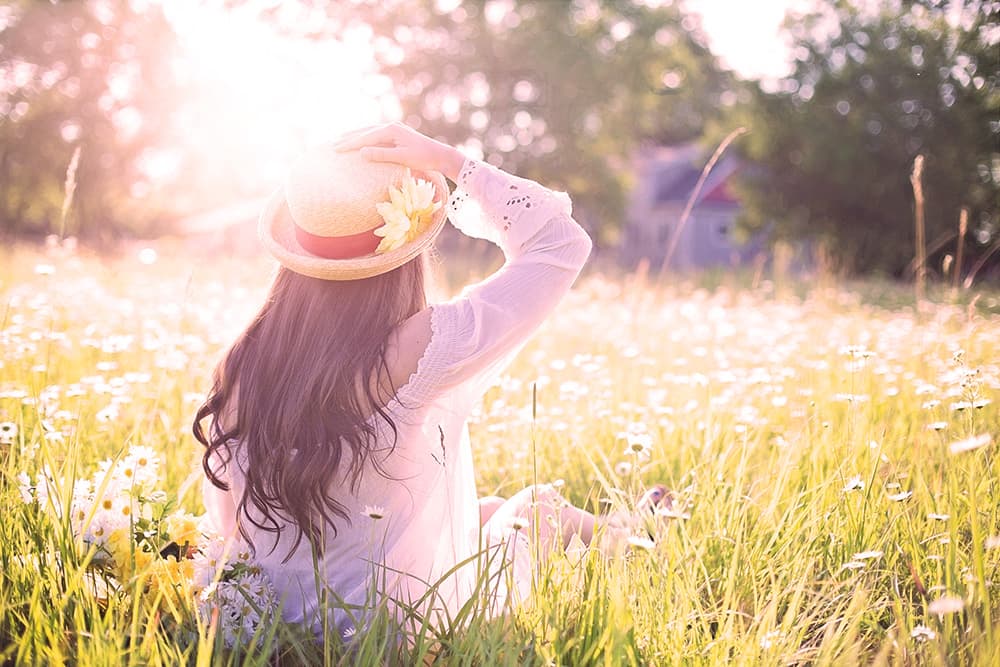
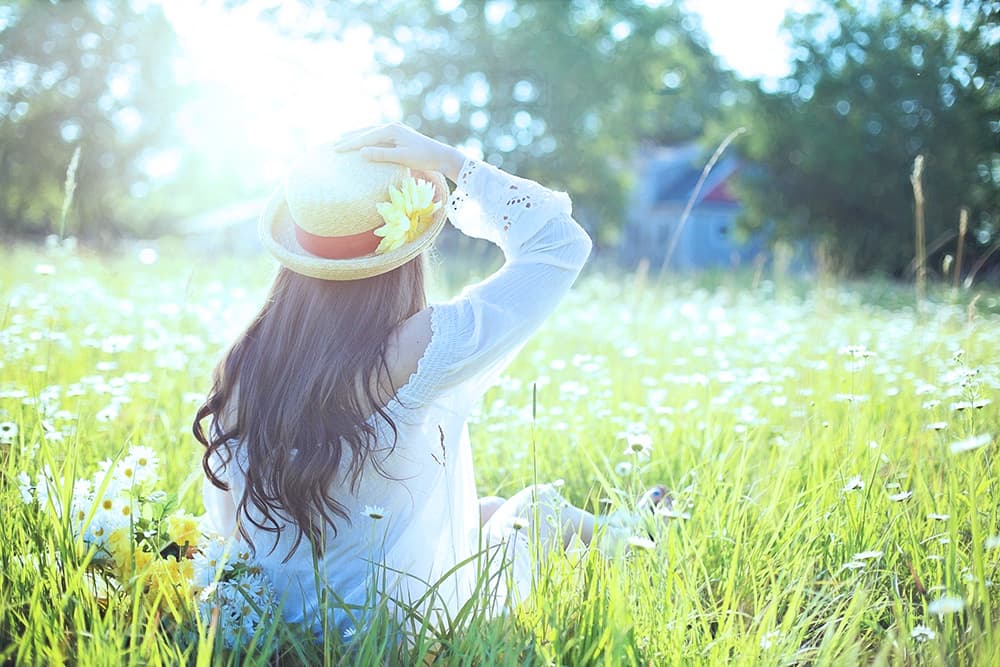
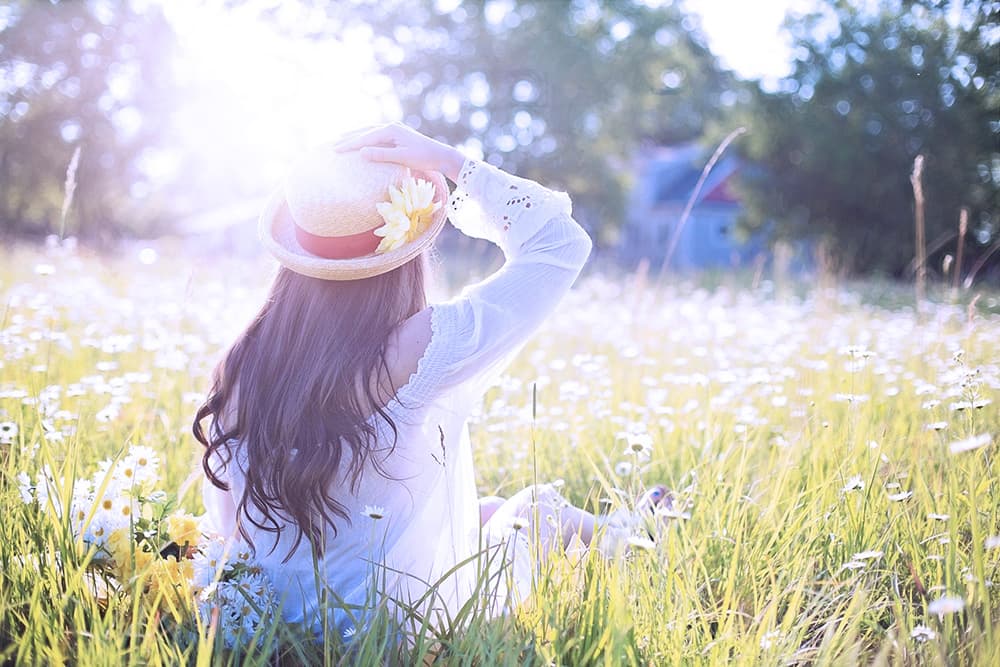
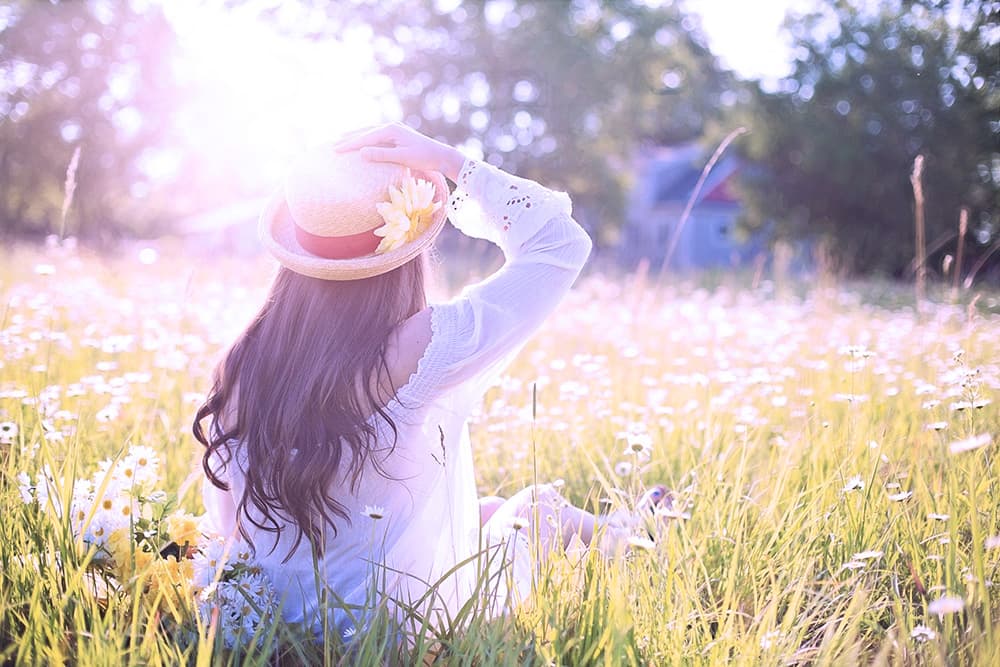
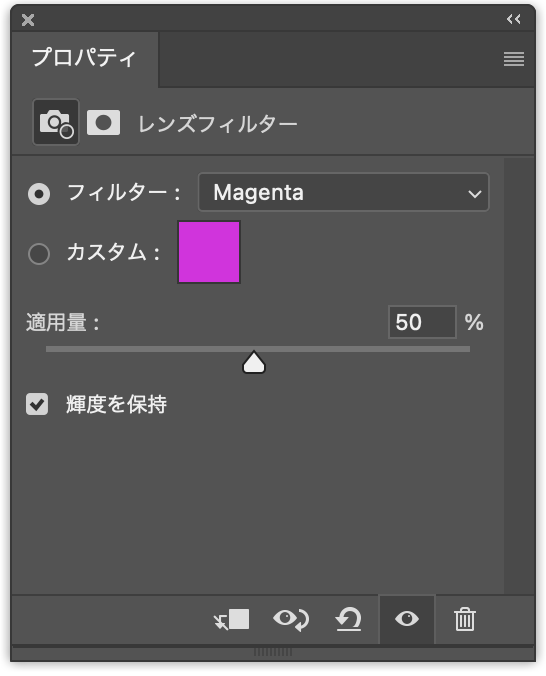
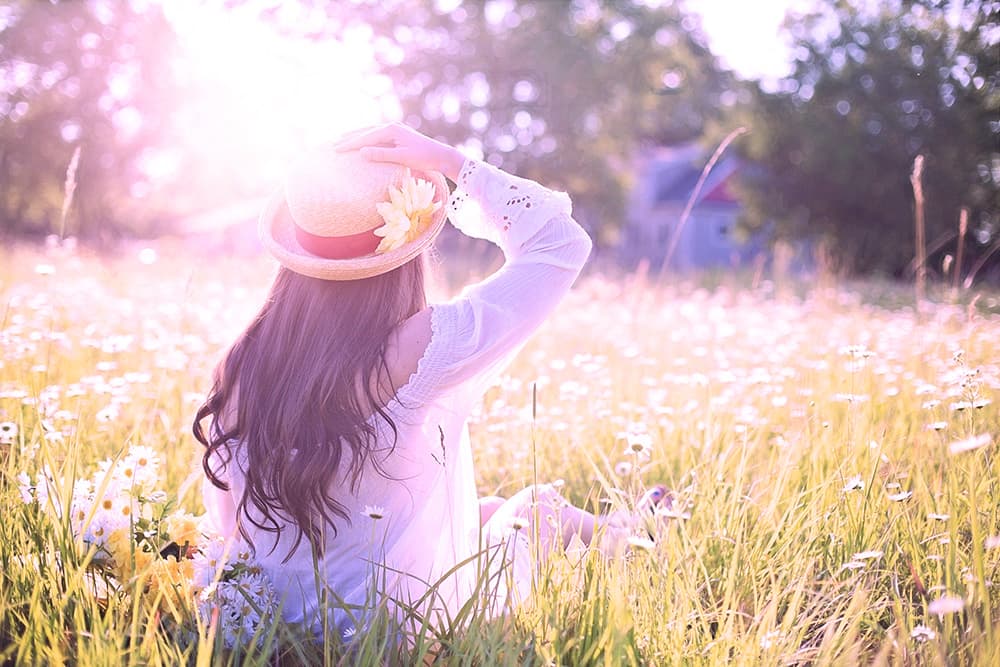
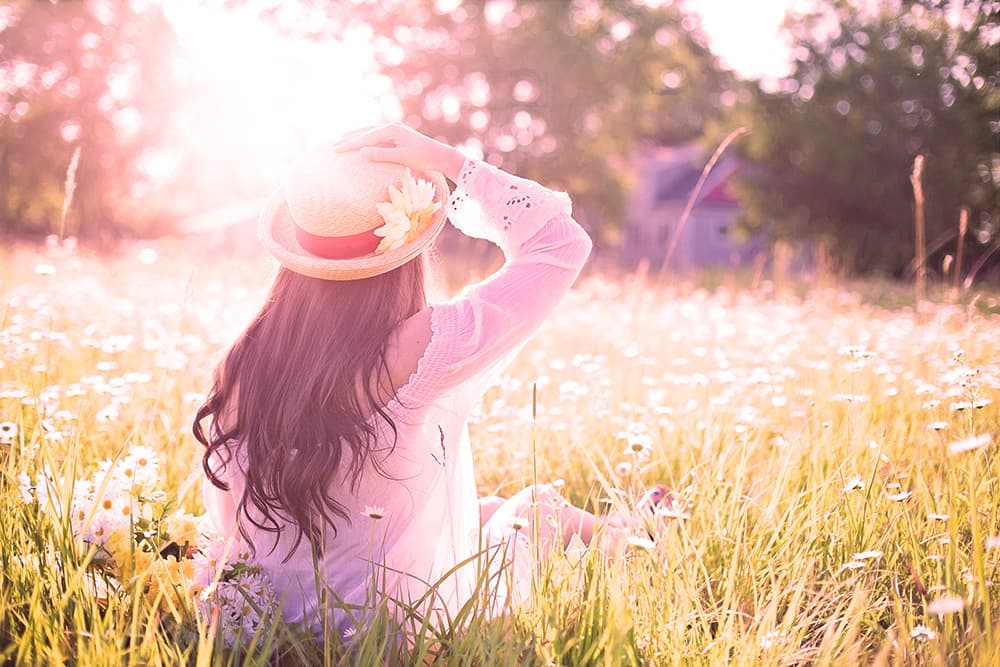
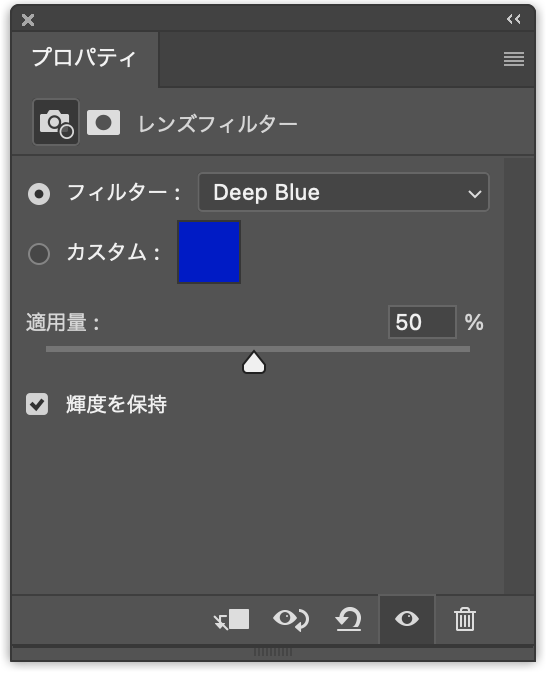
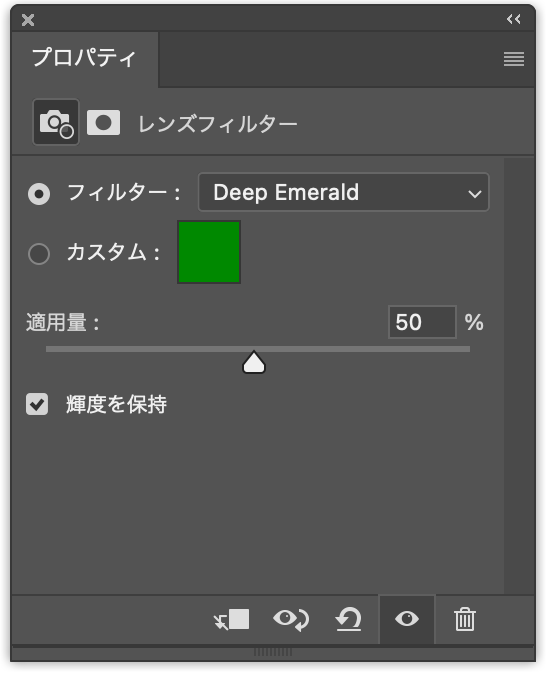
すべてのフィルターを確認してみます。適用が分かりやすいように適用量を50%にしています。
Warming Filter(85)


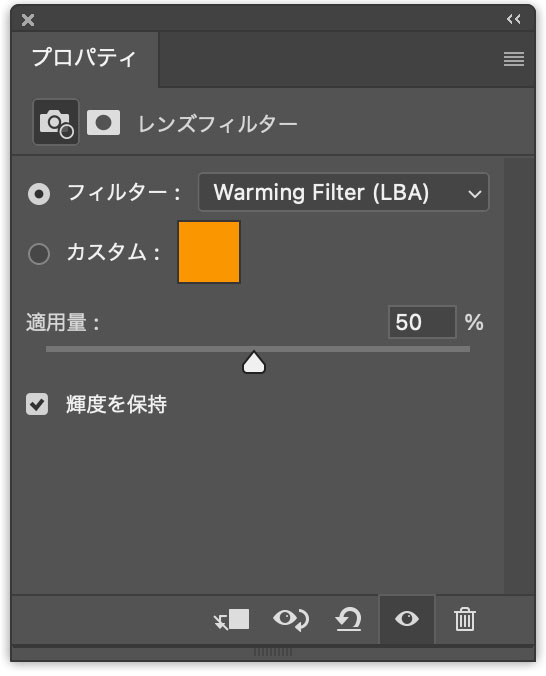
Warming Filter(LBA)

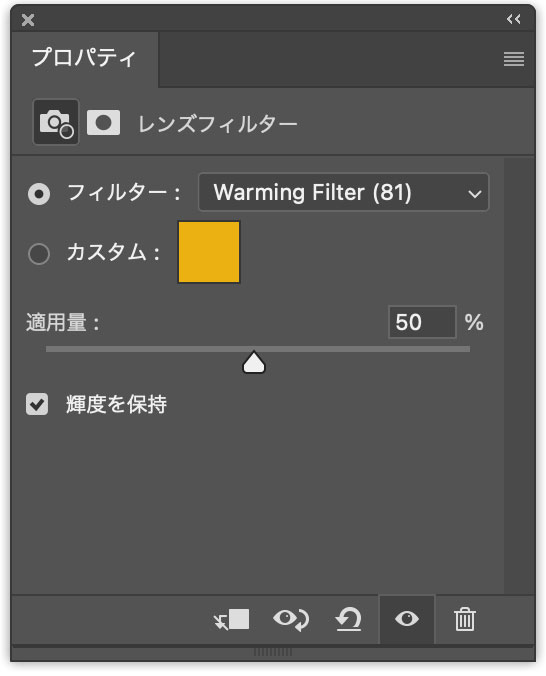
Warming Filter(81)

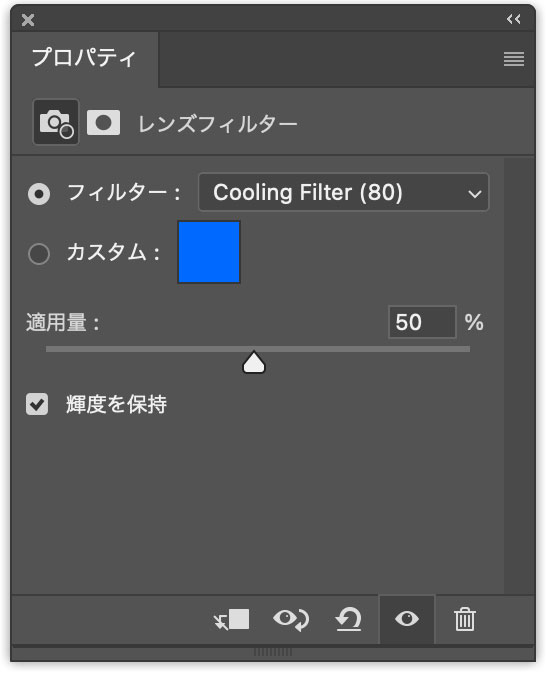
Cooling Filter(80)

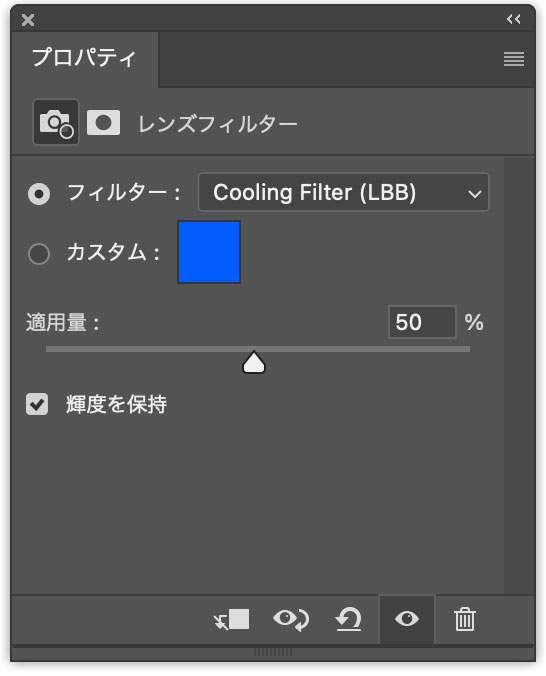
Cooling Filter(LBB)

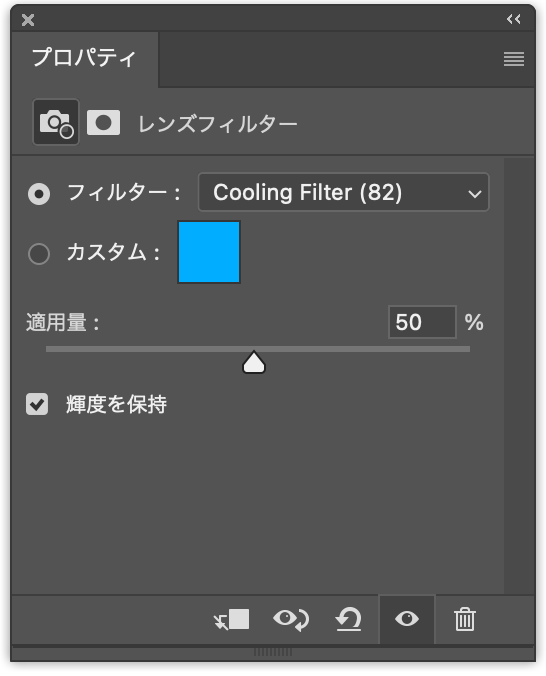
Cooling Filter(82)
Red
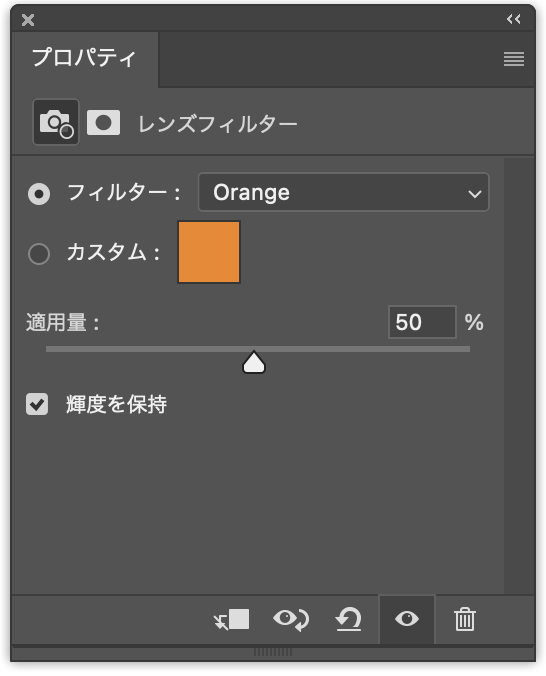
Orenge

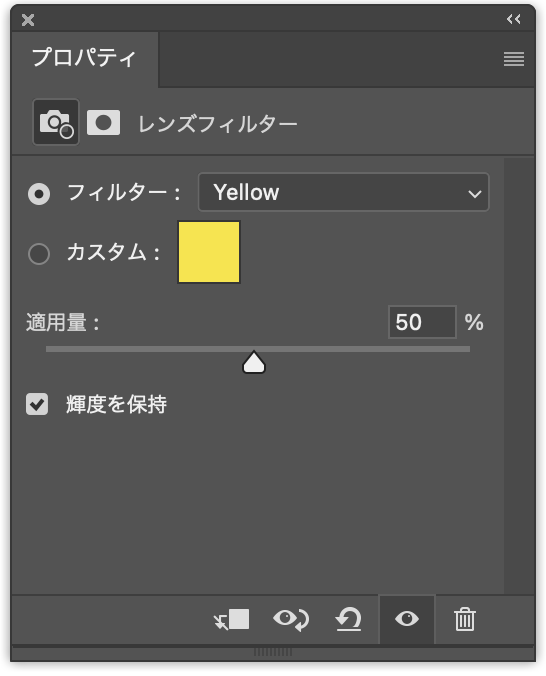
Yellow

Green

Cyan

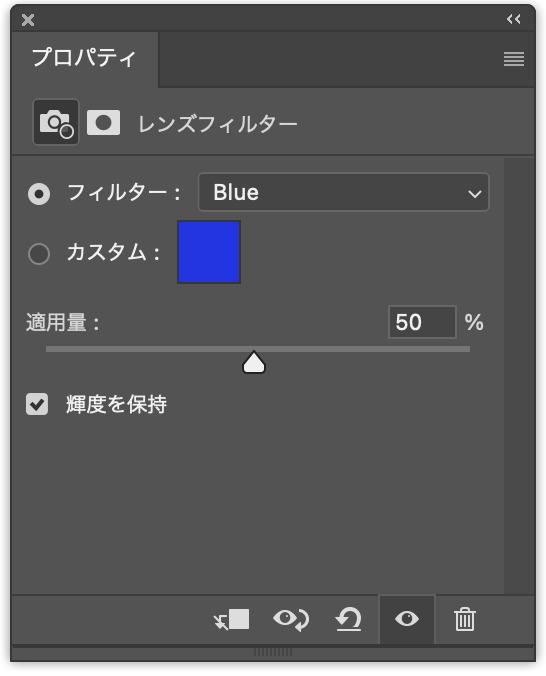
Blue
Violet
Magenta
Sepia

Deep Red

Deep Blue

Deep Emerald

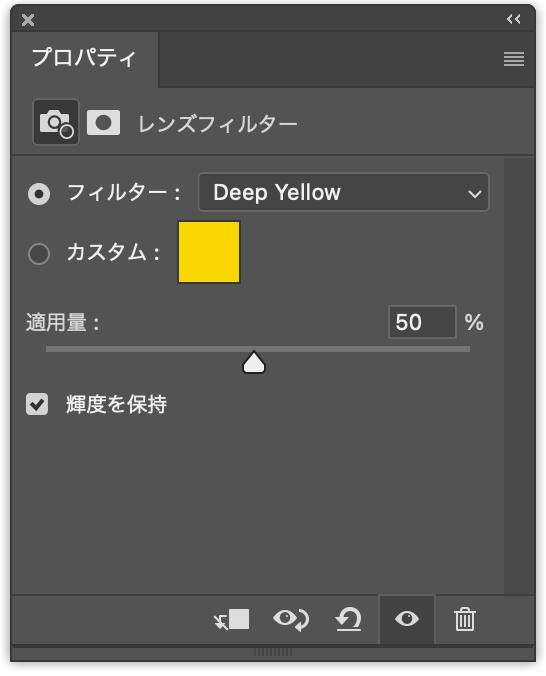
Deep Yellow

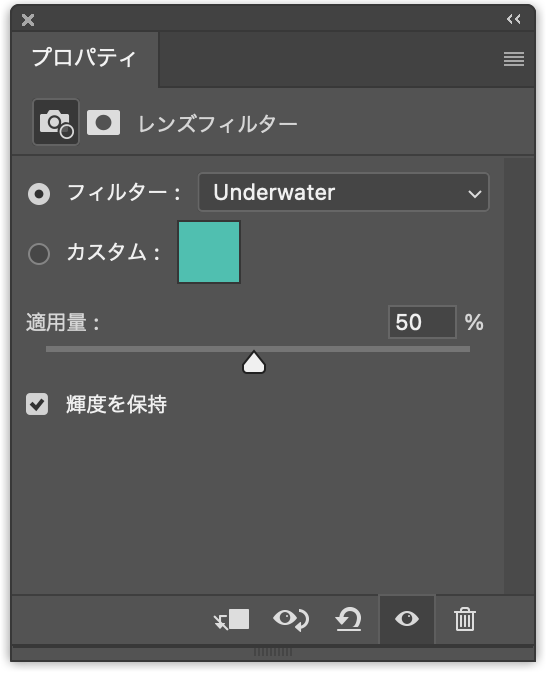
Underwater
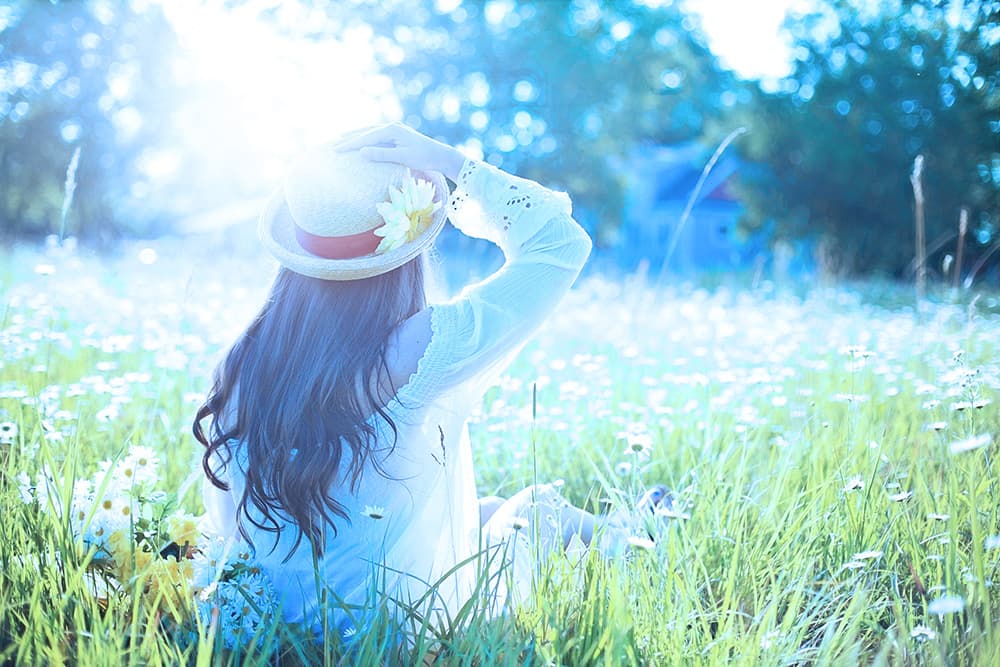
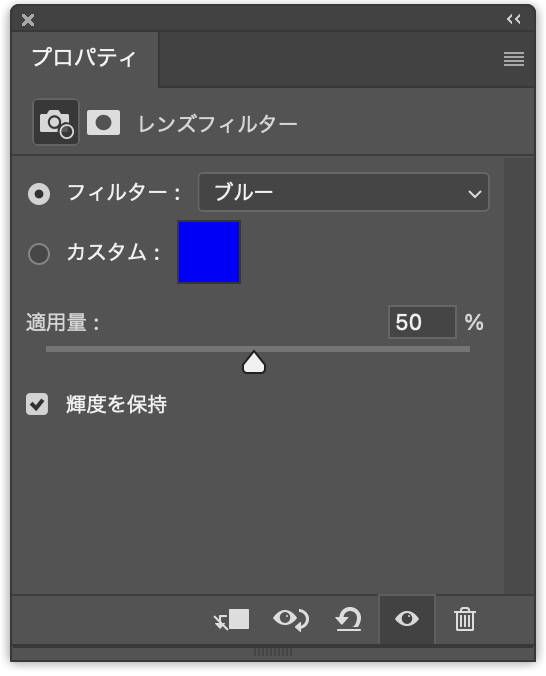
ブルー
❷ カスタムカラーを適用
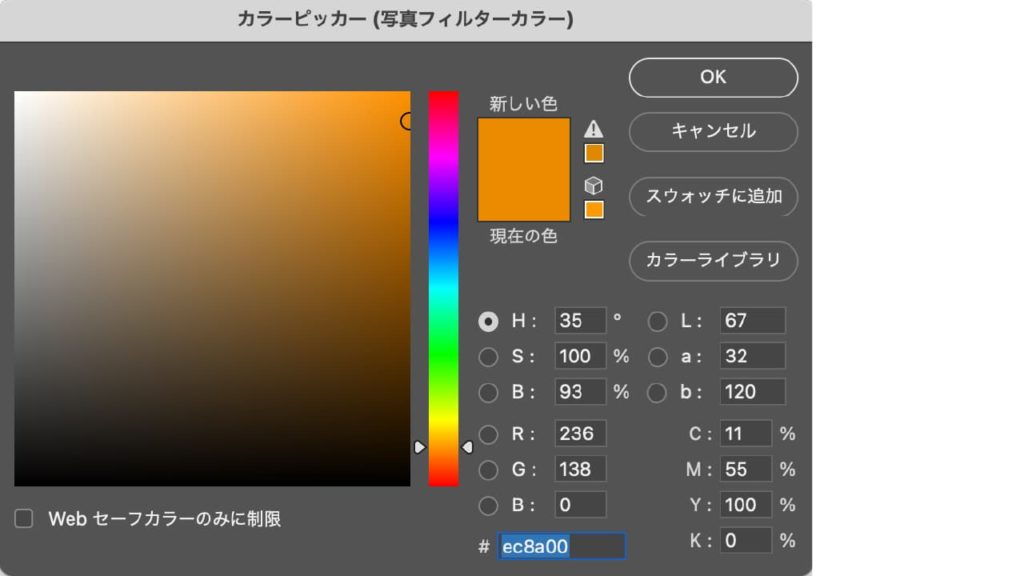
[カスタム]を選択し❶、横にあるカラーの四角をクリックします❷。
[カラーピッカー]ダイアログが表示されますので、好きな色を選択します。
❸ 適用量でレベルを調整
指定した色をどの程度画像に適用するか[適用量]を変更することでレベルを調整します。

ここでは25%を85%に設定しました。印象が変わったのが分かると思います。
❹ 輝度を保持
[輝度を保持]は基本チェックをつけておきましょう。輝度を保持して適用させないと画像の輝度が失われのっぺりとした印象になってしまいます。
ここでは輝度のチェックを付けた状態と付けてない状態を比べてみました。
[輝度を保持]にチェックがついていない場合は明るさ(輝き)のレベルが失われているのがわかります。
[レンズフィルター]で画像を調整する
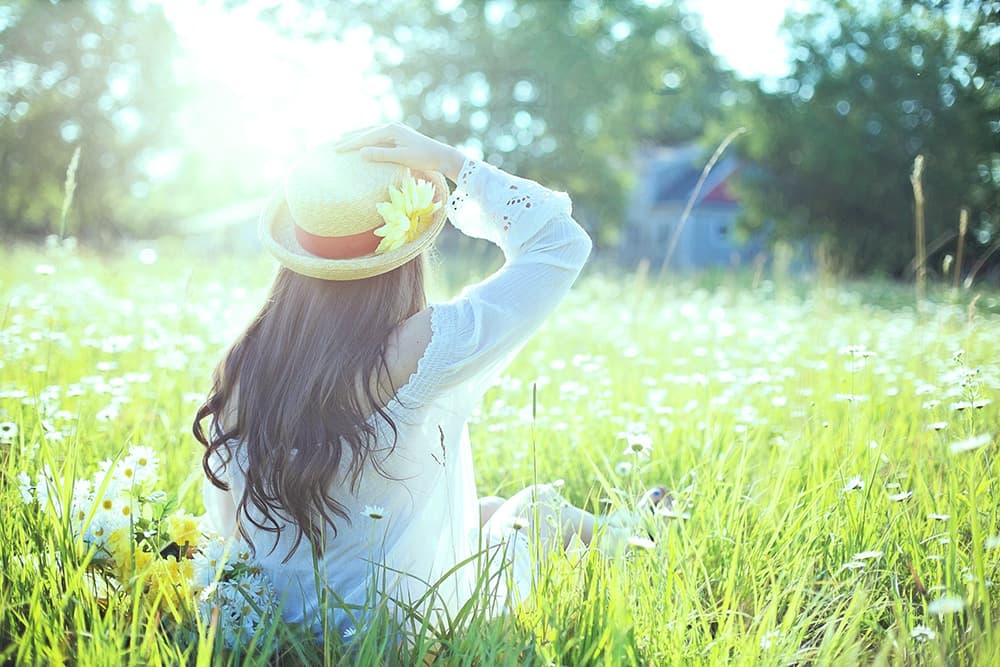
解説する画像を使用したければ、下記「ダウンロード」ボタンをクリックしてください。フリー素材サイトよりダウンロードすることができます。
昼間から夕暮れのイメージへ調整
- STEP:01[レンズフィルター]調整レイヤーを作成
レイヤーパネル下部の[調整レイヤー新規作成]ボタン
 をクリックして❶、「レンズフィルター」を選択します❷。
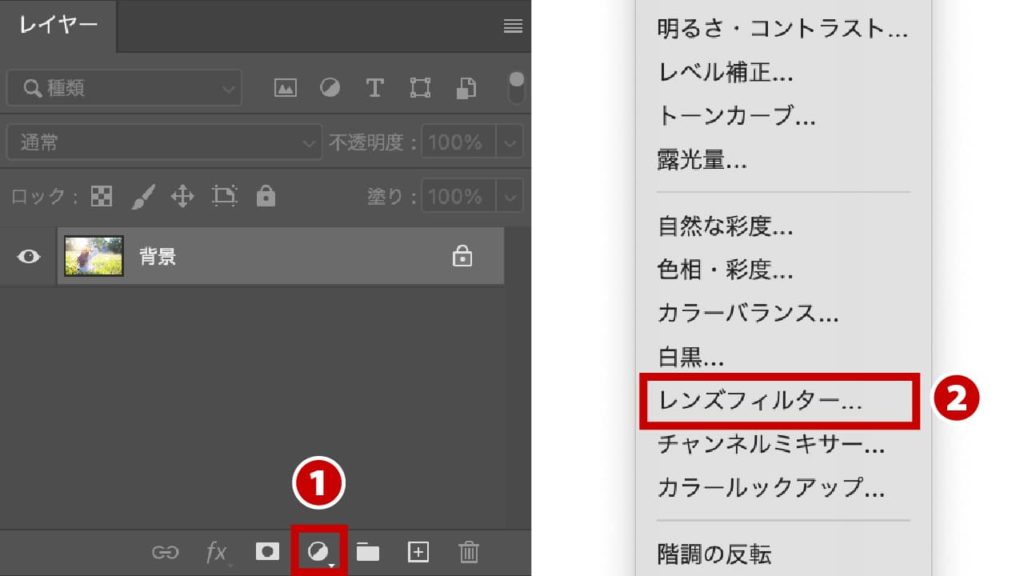
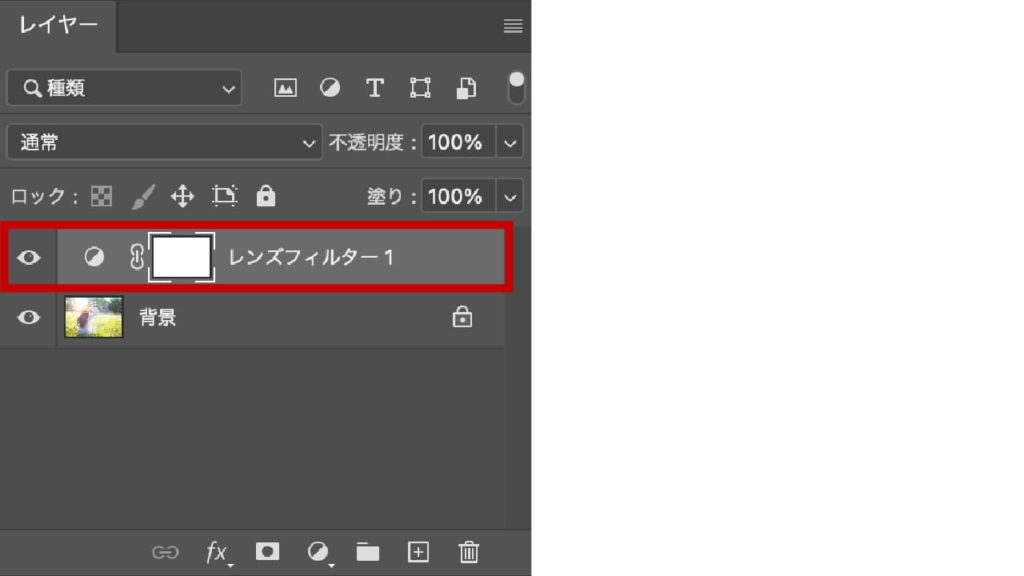
- STEP:02調整レイヤーを選択
[レンズフィルター]調整レイヤーが選ばれているのを確認する。
選ばれていないと調整することができません。
- STEP:03プロパティパネルを確認
調整は[プロパティ]パネルを使用します。表示されていなければ、[レンズフィルター]調整レイヤーのアイコン
 をダブルクリックすれば表示されます。
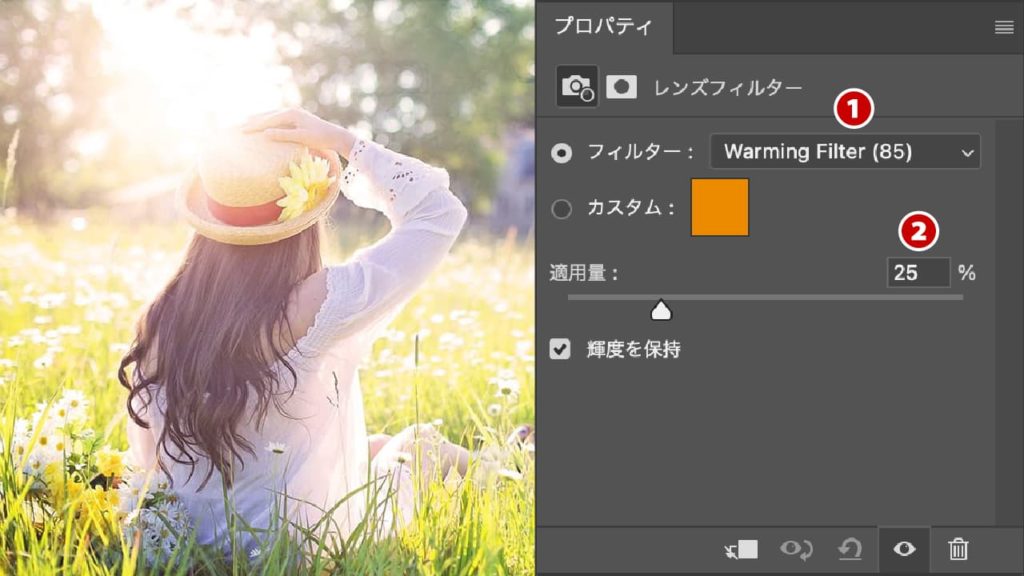
- STEP:04プロパティパネルの調整
今回は夕日の雰囲気に仕上げたいと思います。[フィルター]は初期設定の「Warming Filter(85)」を使用し❶、[適用量]を高めて❷暖かみのある雰囲気に仕上げようと思います。
[適用量]を25%から85%に変更し、夕日の雰囲気に変更しました。
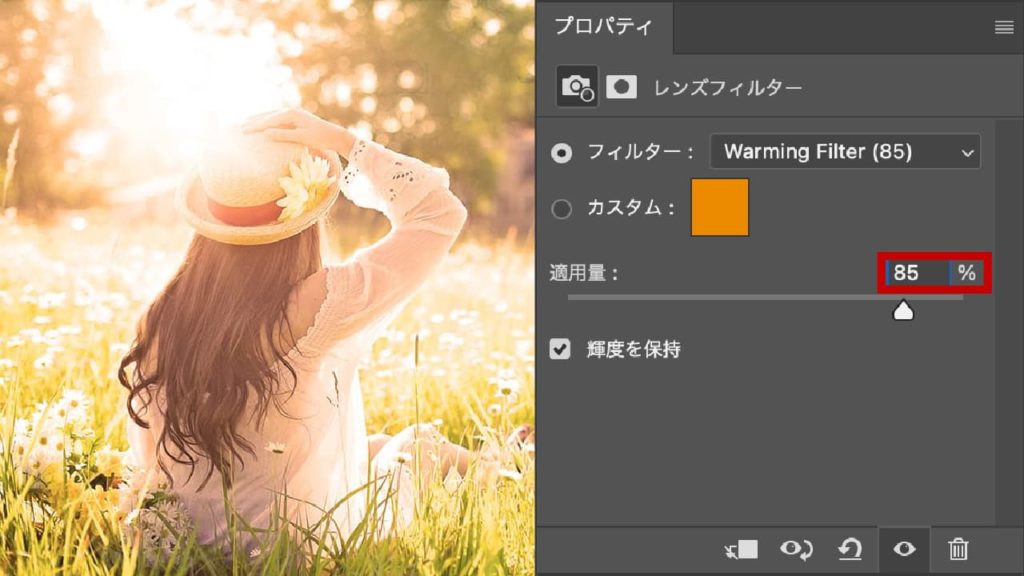
- STEP:05補正結果

まとめ
ご覧いただいた通り色調補正[レンズフィルター]は、カメラレンズの先端に透明なカラーフィルターを装着して撮影したような雰囲気に画像を仕上げることができます。良く使用されるシーンは、夕焼けの雰囲気にしたい場合や、青系をプラスしてクールな印象にする際に使用します。